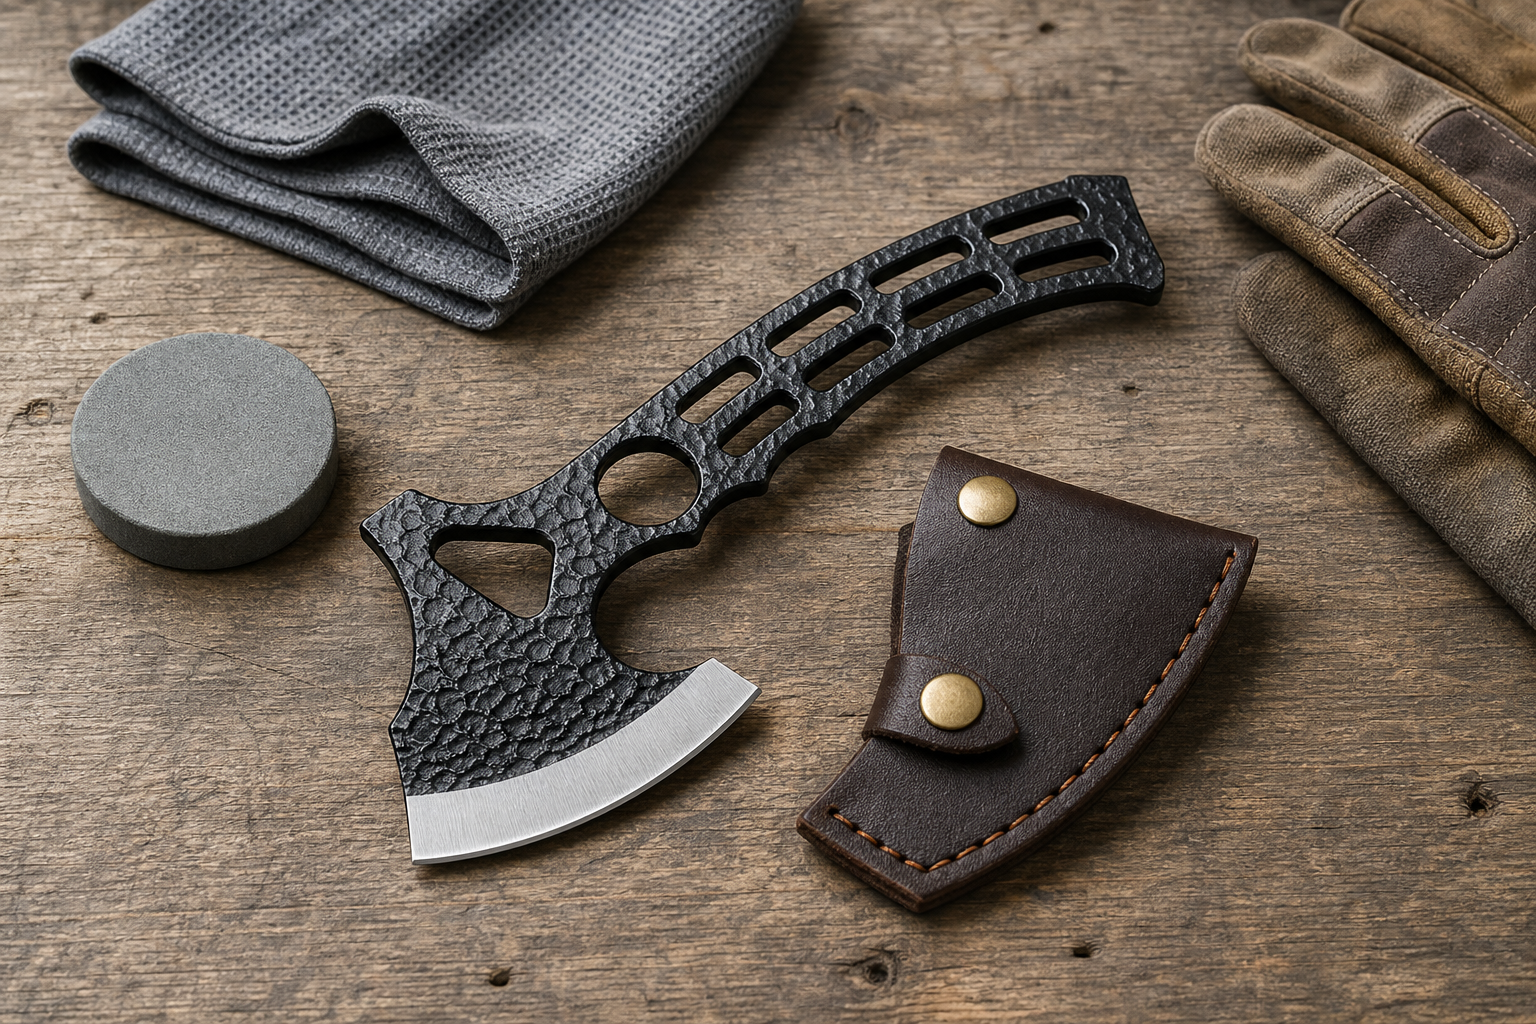

A dull axe is not a small detail. If sharpening guidance is vague, customers may damage the bit, loosen the handle, or create avoidable injury risk.
Buyers should explain axe sharpening as controlled maintenance: inspect the handle and head first, secure the axe, wear suitable protection, restore the bevel carefully, remove the burr, protect the edge, and stop when damage requires service or replacement.
Quick buyer brief:
- Answer: Axe sharpening copy should be a safety, maintenance, QC, and after-sales document, not a dramatic outdoor skill tutorial.
- Buyer context: This guide is for outdoor tool brands, axe and hatchet importers, private label sellers, camping accessory buyers, distributors, and OEM/ODM sourcing teams.
- Key checks: Axe type, head steel, heat treatment, handle condition, bevel profile, edge damage, filing method, honing method, protective equipment, sheath, rust prevention, travel wording, warranty boundary, and support script.
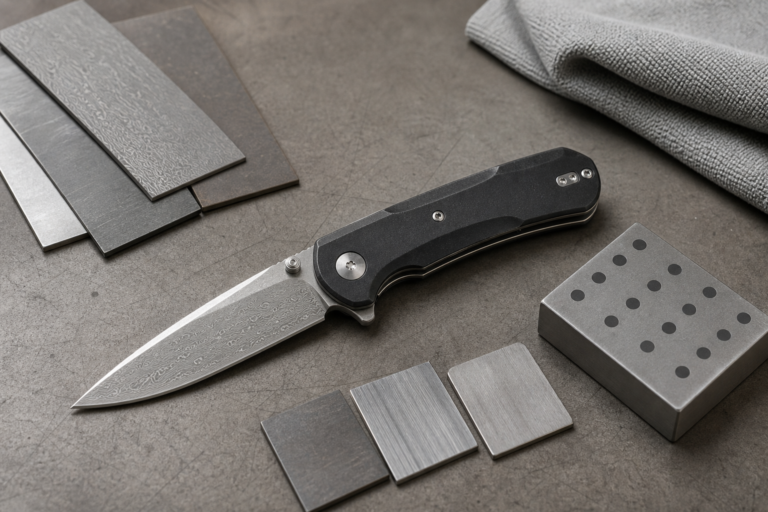
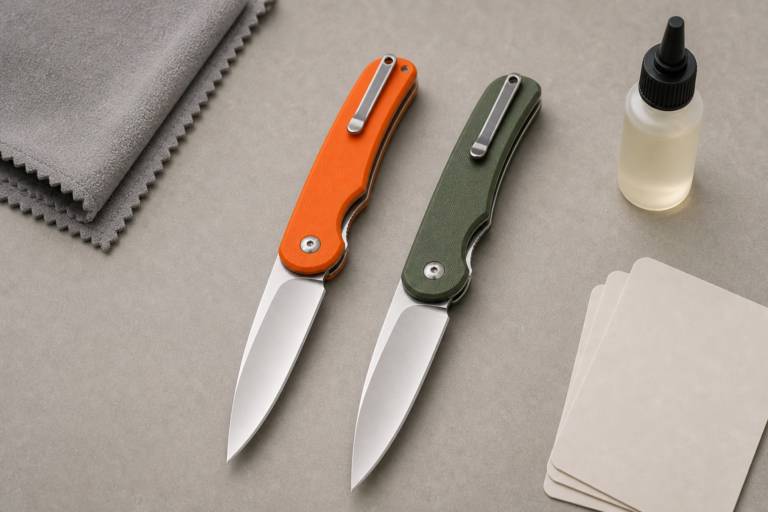
Have a knife or multi-tool project in mind?
Send your sketch, CAD file, sample photo, or product idea. Vast State can review manufacturability, suggest materials, estimate MOQ, and prepare a quote for your OEM/ODM project.
This article discusses axe sharpening as product maintenance for outdoor utility tools. It does not cover weapon use, intimidation, combat, unsafe chopping instruction, felling training, or survival fantasy positioning. A buyer should keep the article and product manual focused on safe care, inspection, storage, and claim control.
The practical job is to help customers keep an axe usable without making the product dangerous. A sharp, properly maintained tool can be safer than a neglected one, but only when the user understands hand placement, workholding, edge protection, and when to stop.
What Should Buyers Inspect Before Sharpening Starts?
Sharpening starts with inspection.
Buyers should tell customers to inspect the axe head, handle, eye, wedge, bit, rust, cracks, looseness, and edge damage before any file or stone touches the tool.

I Do Not Sharpen Around Structural Problems
The first sharpening step is not filing. It is inspection. If the axe head is loose, the handle is cracked, the bit is badly chipped, or the eye area looks damaged, customer instructions should say to stop. Sharpening can hide a deeper problem, and a sharp damaged axe can be more dangerous than a dull stable one.
OSHA's hand and power tools booklet explains that hand-tool hazards often come from misuse and poor maintenance. It specifically gives examples involving loose, splintered, or cracked wooden handles on tools such as axes. That is a useful foundation for buyer copy: do not let the customer treat sharpening as a cure for an unsafe tool.
The care card should ask customers to check:
| Inspection Area | What to Look For | Buyer Guidance |
|---|---|---|
| Handle | Cracks, splinters, looseness | Stop and service or replace |
| Axe head | Movement, rust, mushrooming, chips | Do not sharpen until inspected |
| Edge | Dents, rolls, missing steel | Use approved repair path |
| Sheath | Fit and edge coverage | Replace if it cannot secure the bit |
| Hardware or wedge | Movement or gaps | Escalate to support |
OEM/ODM RFQ Checklist
Prepare these details to help Vast State review your project and provide a more accurate quotation.
| RFQ Field | What to Prepare |
|---|---|
| Project type | OEM from drawing / ODM private label / wholesale catalog |
| Product category | Folding knife / fixed blade / multi-tool / outdoor tool |
| Design status | Idea / sketch / 2D drawing / 3D CAD / physical sample |
| Target price | Ex-factory target price or retail price range |
| MOQ expectation | 500 / 1,000 / 3,000 / 5,000+ pcs |
| Logo method | Laser engraving / etching / printing / molded logo |
| Packaging | Standard packaging / custom retail box / Amazon-ready |
| Market | USA / EU / Japan / Korea / Middle East / other |
| Compliance needs | Buyer-specified testing / documentation / labeling |
| Timeline | Sample deadline / mass production deadline |
This inspection language protects the customer and the brand. It also gives after-sales teams a photo checklist when customers ask why sharpening is not working.
Which Safety Gear and Work Setup Should Be Required?
The setup matters.
Buyers should require gloves, eye protection, stable workholding, clean lighting, controlled hand placement, and a protected edge path before explaining any sharpening motion.

I Write the Setup Before the Technique
Many consumer care guides jump straight into "file the edge." I would write the setup first. A customer should not hold the axe loosely in one hand and scrape at the bit with the other. The head should be stable. The edge path should be visible. The user's spare hand should stay away from the bit.
The U.S. Forest Service manual "An Ax to Grind" gives several safety themes that translate well into customer instructions. It emphasizes personal protective equipment for axe work and states that leather gloves are required while sharpening. It also warns that a dull or blunt axe can glance dangerously. I would use that idea carefully: the buyer should encourage a well-maintained edge, but not aggressive filing or unsafe field improvisation.
The setup copy can be short:
- Work in a clean, well-lit area.
- Wear leather gloves and eye protection.
- Secure the axe head so it cannot move.
- Keep both hands away from the edge path.
- Use a file or stone suitable for the axe.
- Keep bystanders away from the work area.
- Replace the sheath after sharpening.
For B2B packaging, these rules belong on the instruction card, not only in a long website article.
How Should the Bevel and Edge Profile Be Described?
The bevel controls performance.
Buyers should describe the axe edge as a durable convex or rounded working bevel, not a thin knife-like edge that chips easily in wood work.

I Avoid Knife-Sharpening Language
An axe is not a pocket knife. It cuts with a wedging action, and the bit must survive impact with wood. If the customer sharpens the edge too thin, the axe may feel sharp at first and then chip, roll, or wedge poorly. If the edge is too blunt, it may glance away from the cut.
The Forest Service axe manual discusses filing a fan-shaped effect back from the cutting edge and keeping a rounded profile while working the bit. That is useful for buyer instructions because it frames sharpening as shaping the whole working bevel, not just scratching the last edge line.
The buyer should define the edge target by product type:
| Axe Type | Edge Priority | Copy Direction |
|---|---|---|
| Camping hatchet | General wood processing | Durable working edge |
| Splitting axe | Wedge behavior and durability | Avoid overly thin edge |
| Carving or detail axe | Controlled fine cuts | More refined finish, still safe |
| General outdoor axe | Balanced chopping and maintenance | Maintain approved factory profile |
If the buyer cannot define the factory bevel, the customer care guide should say to maintain the original bevel and contact support before major reshaping.
What Sharpening Steps Should Be Safe Enough for Customers?
Customer steps should be conservative.
For normal maintenance, buyers can explain inspection, securing, filing or honing along the existing bevel, burr removal, light finishing, cleaning, oiling, and sheathing.

I Keep the Public Guide Within Maintenance Limits
The customer-facing guide should stay inside normal maintenance. Heavy grinding, deep chip repair, re-profiling, heat-damaged edges, loose heads, and broken handles should move to service or replacement. This boundary is important because power grinding can overheat an edge, change the temper, or create poor geometry if the customer is not trained.
A safe maintenance sequence can be:
| Step | Customer Action | Buyer Control |
|---|---|---|
| 1 | Inspect the axe and handle | Stop if damaged |
| 2 | Secure the axe head | Prevent movement |
| 3 | Follow the original bevel | Avoid wrong geometry |
| 4 | Use controlled file or stone strokes | Avoid slipping |
| 5 | Remove the burr carefully | Keep hands away from edge |
| 6 | Clean metal filings | Avoid contamination and rust |
| 7 | Apply approved rust protection | Match material and finish |
| 8 | Sheath and store dry | Protect edge and customer |
The guide should not promise that anyone can restore every axe. Some damage is beyond customer sharpening. That honesty reduces returns and keeps the advice safe.
How Should Buyers Handle Rust, Pitch, and Cleaning?
Cleaning protects the edge.
Buyers should tell customers to remove pitch, dirt, moisture, filings, and light rust using approved methods before storage, then dry and protect the axe head.

I Treat Sharpening and Storage as One System
Sharpening creates fresh exposed metal. If the customer leaves filings, moisture, or pitch on the axe, corrosion can begin quickly. The guide should close the loop: sharpen, clean, protect, sheath, and store dry.
The newer Forest Service ax manual says users should clean the axe head at the end of the day to remove pitch, hone the cutting edge, and protect the head from rust with light machine oil or wax. That gives buyers a useful maintenance framework. The exact product language should still match the steel, finish, coating, handle, and market.
The British Stainless Steel Association explains that stainless corrosion resistance depends on a chromium-rich passive film that can break down under some conditions. Most axes are not sold as stainless kitchen tools, but the point still matters: corrosion resistance is not a reason to skip care.
Customer guidance should avoid harsh chemicals, soaking, and uncontrolled grinding. It should also explain that rust under a loose head, deep pits near the bit, or cracks around the eye may require service instead of cleaning.
What Claims Should Product Pages Avoid?
Sharpening claims need evidence.
Buyers should avoid unsupported claims such as razor sharp forever, chip proof, unbreakable, professional grade, safest axe, or maintenance free.

I Write Marketing From the Evidence File
Sharpening copy often turns into performance copy. A product page may say "stays sharp," "easy to sharpen," "professional grade," "chip resistant," or "maintenance free." Some of those claims may be true for a specific product, but the buyer needs evidence.
The Federal Trade Commission's advertising substantiation policy says advertisers need a reasonable basis for objective claims before making them. For an axe buyer, this means the product file should support claims about sharpness retention, steel grade, heat treatment, hardness, corrosion resistance, handle strength, or durability.
Safer language:
| Avoid | Use Instead |
|---|---|
| Razor sharp forever | Factory edge should be maintained with approved care |
| Maintenance free | Clean, dry, sharpen, protect, and store correctly |
| Chip proof | Edge durability depends on use and material |
| Safest axe | Follow warnings and buyer-approved instructions |
| Professional grade | Define steel, hardness, handle, and QC standard |
For material records, ASTM E18 covers Rockwell hardness testing for metallic materials. Hardness is not the whole story, but a defined hardness range and test method can support a more disciplined material claim.
What Should Packaging, Travel, and Storage Wording Say?
The edge must be secured.
Packaging should instruct customers to sheath the axe, store it dry, protect the bit during transport, and check travel rules before packing axes or hatchets.

I Avoid "Carry Anywhere" Language
Axes and hatchets are outdoor tools, but they are also sharp objects. The product page should not imply unrestricted carry, carry-on approval, or universal travel permission. Storage and transport copy should be clear and restrained.
The TSA page for axes and hatchets lists them as not allowed in carry-on bags and allowed in checked bags. The broader TSA sharp-object guidance says sharp objects in checked bags should be sheathed or securely wrapped to protect baggage handlers and inspectors. Buyers should use this as a reminder to avoid casual travel claims.
Better wording:
- Keep the axe sheathed when not in use.
- Store dry and away from children.
- Protect the edge during transport.
- Check local laws, carrier rules, and venue rules before transport.
- Do not pack axes or hatchets in carry-on baggage.
- Replace a damaged sheath before travel or storage.
This wording supports safe customer behavior and reduces platform or compliance risk.
What Should the RFQ and QC Plan Include?
Sharpening starts in the product file.
The RFQ should define axe type, steel, heat treatment, hardness target, factory bevel, handle fit, sheath, sharpening guidance, corrosion care, warnings, and inspection criteria.

I Build the Maintenance Guide Before Production
The best sharpening guide starts before the first shipment. The buyer should define the factory edge, sample approval process, handle fit, finish, packaging, and support script. The supplier should not ship a sharp tool without a clear care boundary.
RFQ fields should include:
- Axe or hatchet type
- Head steel or agreed equivalent
- Heat treatment and hardness range
- Factory bevel profile
- Edge chip rejection standard
- Handle material and fit standard
- Head looseness rejection rule
- Sheath or edge cover requirement
- Approved file or stone guidance
- Disallowed power-grinding language
- Rust prevention instruction
- Warning label copy
- Support photo checklist
- Warranty boundary for misuse or unsafe modification
Final QC should check the edge, bevel consistency, handle fit, head security, sheath coverage, warning label, and instruction card. This is the practical way to make "how to sharpen an axe" useful for an independent site without turning it into risky field training.
Turn your idea into a quote-ready knife project.
Share your drawing, sample photo, target quantity, market, and packaging needs. Vast State will review manufacturability and prepare OEM/ODM options.
Conclusion
Explain axe sharpening as controlled maintenance: inspect first, sharpen conservatively, protect the edge, avoid overclaims, and connect the guide to QC.