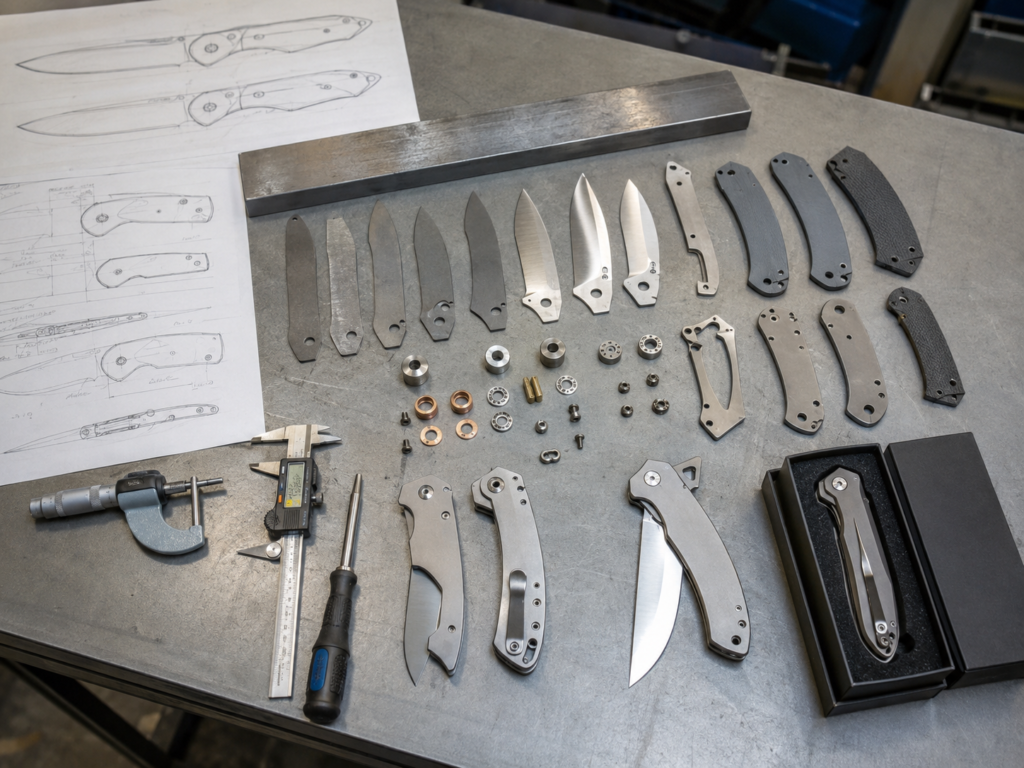
A multi-tool looks compact, but one weak part can affect the whole product. Poor planning creates stiff tools, loose pivots, and inconsistent quality.
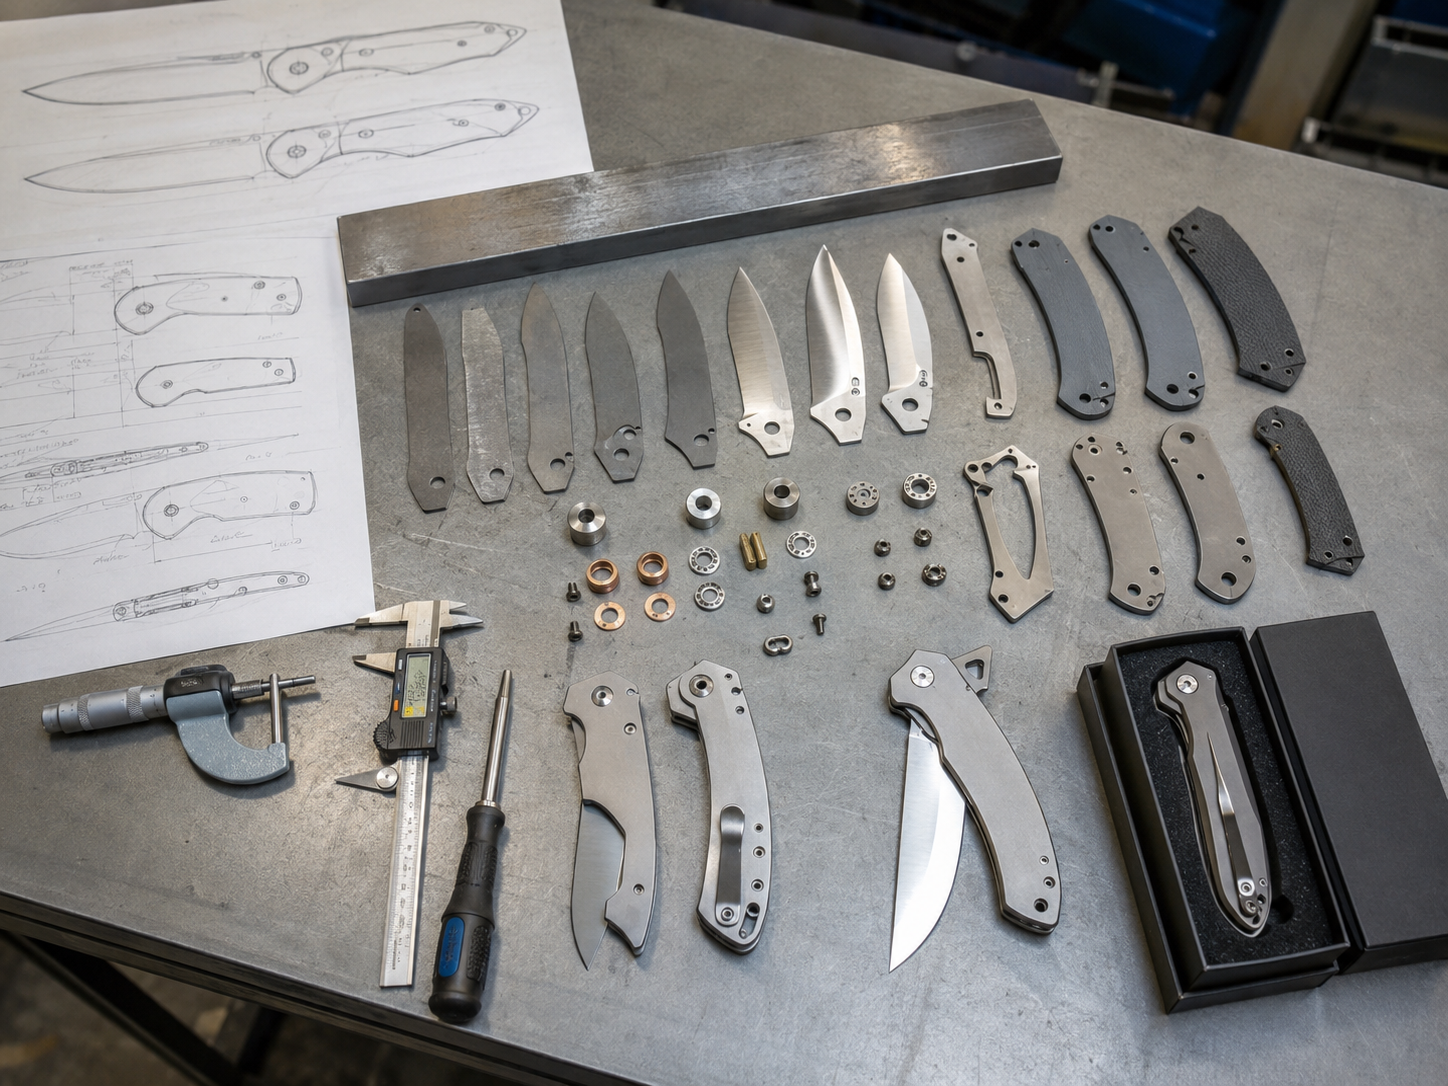
A multi-tool is manufactured through concept planning, tool layout design, material selection, component cutting and machining, heat treatment, surface finishing, assembly, functional testing, quality inspection, and packaging. Each tool layer must work together safely, smoothly, and repeatedly in mass production.
Quick buyer brief:
- Answer: Multi-tool production needs coordinated design, precise components, controlled heat treatment, stable assembly, and final QC.
- Buyer context: This helps outdoor brands, importers, wholesalers, distributors, and private label buyers prepare better RFQs.
- Key checks: Tool functions, steel grade, handle material, pivot structure, spring tension, surface finish, packaging, and inspection standard.
Planning a custom multi-tool project?
Send your function list, reference photo, target quantity, and budget range. Vast State can review materials, tooling, assembly, inspection, and packaging options.
When I work on a multi-tool project, I do not treat it as one product only. I treat it as a small system. The pliers, blade, saw, screwdriver, bottle opener, scissors, file, spring, pivot, washer, and handle frame all need space and movement. If the early layout is wrong, later assembly becomes difficult. If one component is too thick, another tool may not close. If the spring tension is not controlled, the user may feel the problem immediately. This is why a good multi-tool starts with product engineering, not only appearance.
Why Does the Concept Stage Matter So Much for a Multi-Tool?
A multi-tool can become crowded very quickly. If the function list is not controlled, the final product may be bulky, costly, or hard to assemble.
The concept stage defines the tool functions, target market, size, price level, structure, handle style, packaging, and manufacturability before sampling. It prevents overcomplicated designs from becoming production problems.
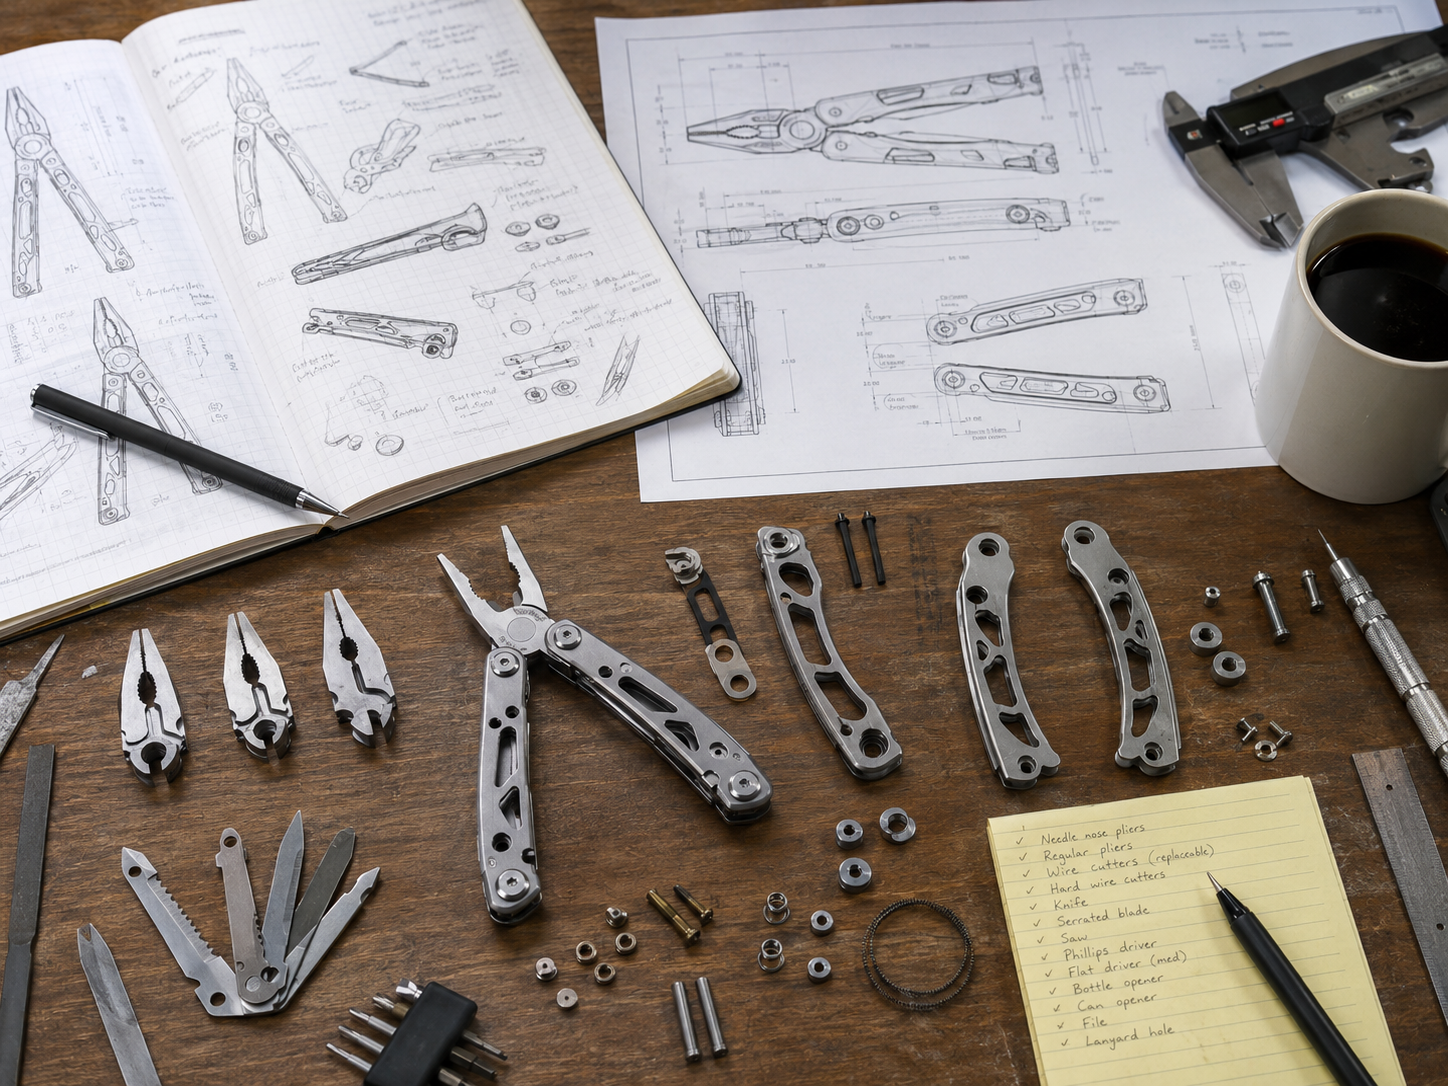
I Start With Function Priority, Not Tool Quantity
When a buyer asks for a custom multi-tool, I first ask which tools are truly important. A product with ten functions is not always better than a product with six well-made functions. Each added function needs space, material, machining, assembly time, and inspection. It can also change the user experience. A screwdriver that is too short may look good in the function list but feel weak in real use. A saw or file that is too thin may save cost but disappoint the buyer’s customer. A plier head that looks strong may become too heavy for an EDC product.
The target market also matters. A camping multi-tool, a bicycle repair tool, a fishing tool, and a promotional pocket tool should not share the same design logic. Some buyers need a retail-ready product with strong packaging. Some need a cost-controlled wholesale item. Some want a private label ODM product that can be adjusted by color, handle material, tool mix, and packaging. I try to connect the concept with the buyer’s real channel. A clear concept stage saves time, because it gives production a structure that can be tested and repeated.
| Concept factor | What I check | Why it matters |
|---|---|---|
| Tool functions | Pliers, blade, screwdriver, scissors, file, saw | It controls size, thickness, and cost |
| Target user | Camping, EDC, fishing, repair, promotion | It guides tool mix and strength level |
| Target price | Buyer margin and market position | It controls material and process choices |
| Customization | Logo, color, packaging, pouch, finish | It supports private label positioning |
OEM/ODM RFQ Checklist
Prepare these details to help Vast State review your project and provide a more accurate quotation.
| RFQ Field | What to Prepare |
|---|---|
| Project type | OEM from drawing / ODM private label / wholesale catalog |
| Product category | Folding knife / fixed blade / multi-tool / outdoor tool |
| Design status | Idea / sketch / 2D drawing / 3D CAD / physical sample |
| Target price | Ex-factory target price or retail price range |
| MOQ expectation | 500 / 1,000 / 3,000 / 5,000+ pcs |
| Logo method | Laser engraving / etching / printing / molded logo |
| Packaging | Standard packaging / custom retail box / Amazon-ready |
| Market | USA / EU / Japan / Korea / Middle East / other |
| Compliance needs | Buyer-specified testing / documentation / labeling |
| Timeline | Sample deadline / mass production deadline |
How Are Materials Selected for Multi-Tool Components?
A multi-tool uses several working parts. If the material choice is wrong, one function may perform well while another becomes weak or costly.
Materials are selected by matching each component to its function. Blades need edge performance, pliers need toughness, handles need strength and finish stability, and springs need controlled flexibility.
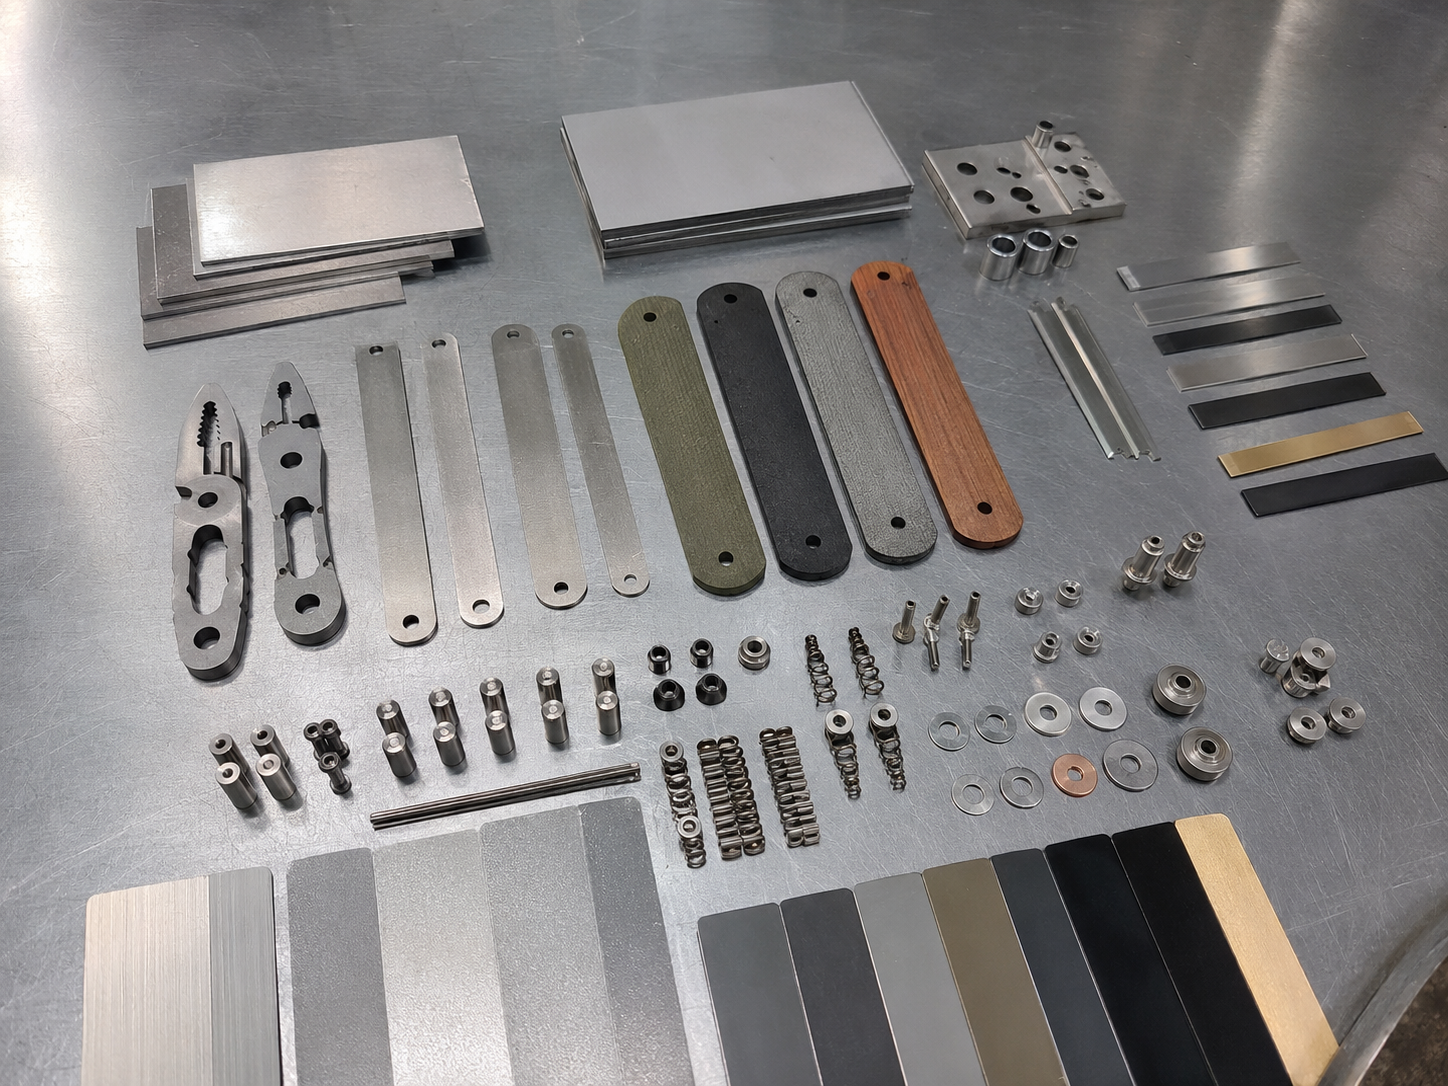
I Match the Material to the Job of Each Part
A multi-tool does not use one material for every need. The blade or cutting tool needs edge stability and corrosion resistance. The plier head needs strength and shape accuracy. The handle frame needs stiffness and a good surface finish. The springs need repeat movement. Screws, washers, and pivots need stable dimensions. This is why material planning should be part of the RFQ, not a late factory decision.
For blade parts, knife steel references are useful. For example, Alleima 14C28N is presented by the manufacturer as a knife steel with edge performance, high hardness, and corrosion resistance. That kind of source helps buyers understand why steel choice affects real use. Still, the best material depends on target price, function, market, and production method. A cost-sensitive multi-tool may use a different steel from a higher-positioned outdoor model.
Handle materials also need practical thinking. Stainless steel handles can be strong and clean, but they may add weight. Aluminum handles can reduce weight and support colored finishes, but surface treatment must be controlled. G10 or other handle scales can improve grip, but they add machining and assembly steps. I usually help buyers choose a material mix that fits function, margin, and repeat production.
| Component | Material concern | Buyer takeaway |
|---|---|---|
| Blade or saw | Edge performance and corrosion resistance | Match steel to target use and price |
| Pliers | Toughness and dimensional stability | Avoid weak jaws or poor alignment |
| Handle frame | Strength, weight, finish, branding | Balance feel, cost, and appearance |
| Springs and pivots | Movement and fatigue control | Check opening feel and repeat action |
How Are Multi-Tool Parts Cut, Machined, and Heat Treated?
Small parts create big problems when tolerances drift. A pivot hole, jaw edge, or spring slot can affect the whole tool.
Multi-tool components are cut, stamped, machined, ground, deburred, and heat treated according to their function. Heat treatment and hardness checks must match the steel and tool purpose.
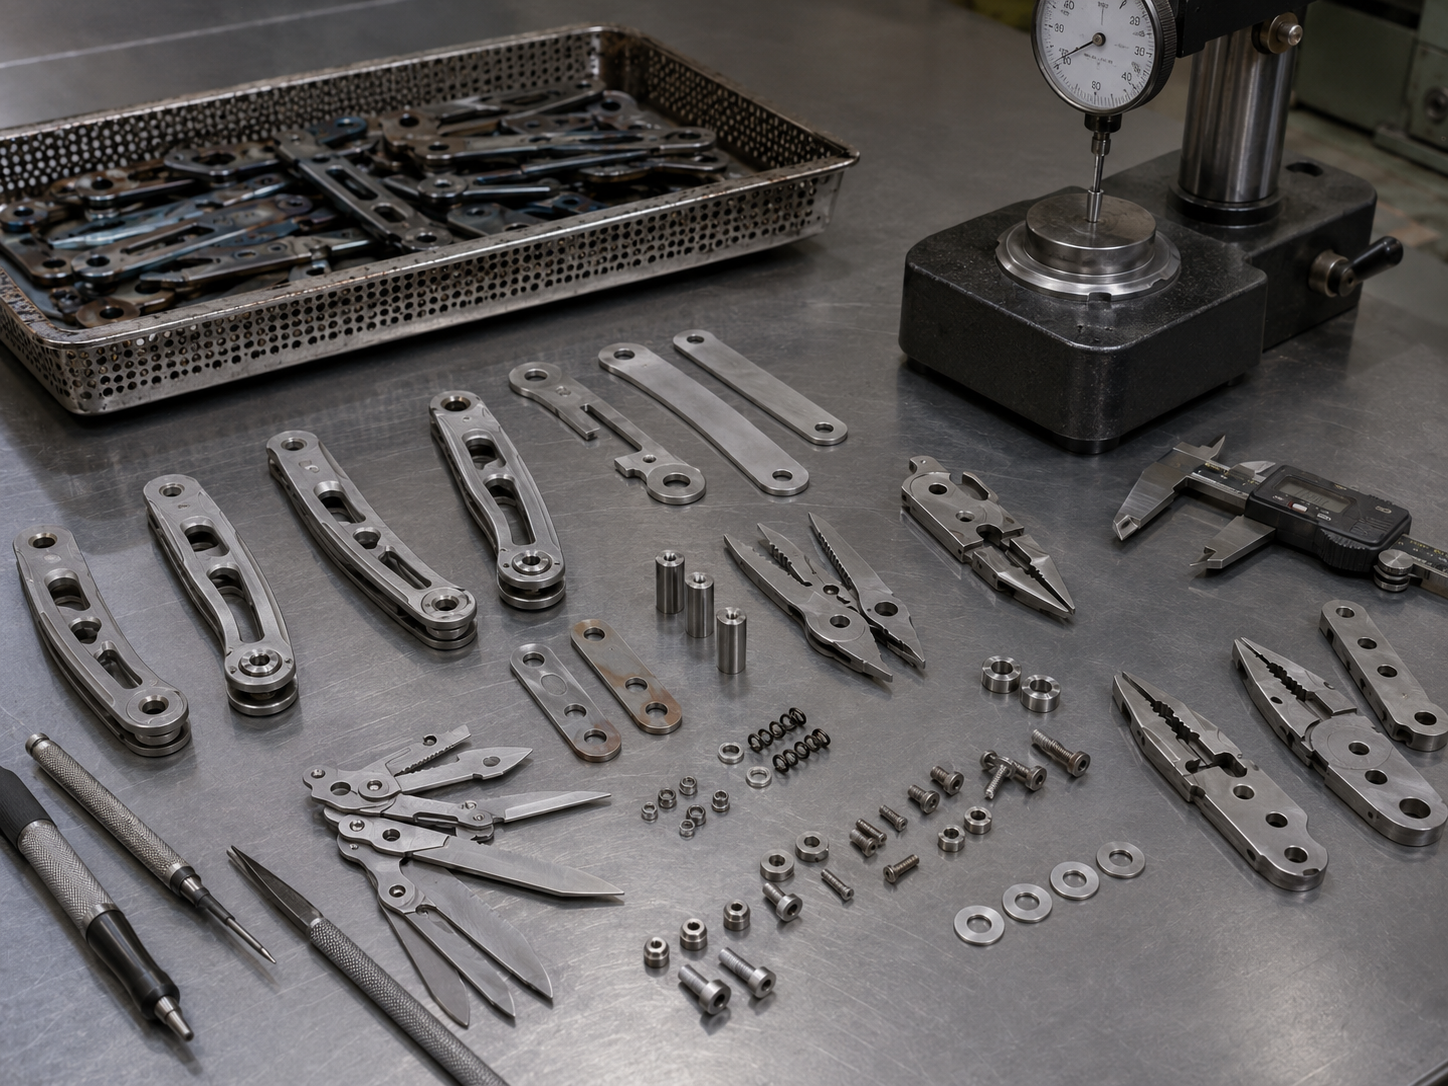
I Control the Hidden Geometry Before Assembly
Multi-tool manufacturing often includes stamping, laser cutting, wire cutting, CNC machining, drilling, grinding, and deburring. The method depends on the part shape, order quantity, tolerance requirement, and cost target. A screwdriver insert may be formed differently from a blade. A plier head may need more careful machining than a bottle opener. A handle frame may need clean holes and stable bending or forming. If these parts are not consistent, assembly workers will spend too much time adjusting the product by hand.
Heat treatment is especially important for cutting parts and some high-stress components. Alleima explains that hardening makes knife steel harder, while tempering reduces brittleness and balances properties such as sharpness retention, grindability, and toughness. I apply the same logic when discussing multi-tool cutting parts. The blade, saw, scissors, or file cannot be judged by appearance alone. They need material and heat treatment planning that matches the intended use.
Hardness testing also matters. The NIST Rockwell hardness measurement guide explains why good practice helps reduce measurement error. In production, hardness data is not just a number. It helps confirm whether the heat treatment process is under control.
| Process | Purpose | Key control point |
|---|---|---|
| Stamping or cutting | Creates part shape | Burrs, shape accuracy, material use |
| CNC machining | Controls detailed geometry | Pivot holes, jaw shape, mating surfaces |
| Deburring and grinding | Removes sharp process edges | User feel and assembly smoothness |
| Heat treatment | Builds working performance | Steel grade, hardness, toughness |
How Are Multi-Tools Assembled and Adjusted?
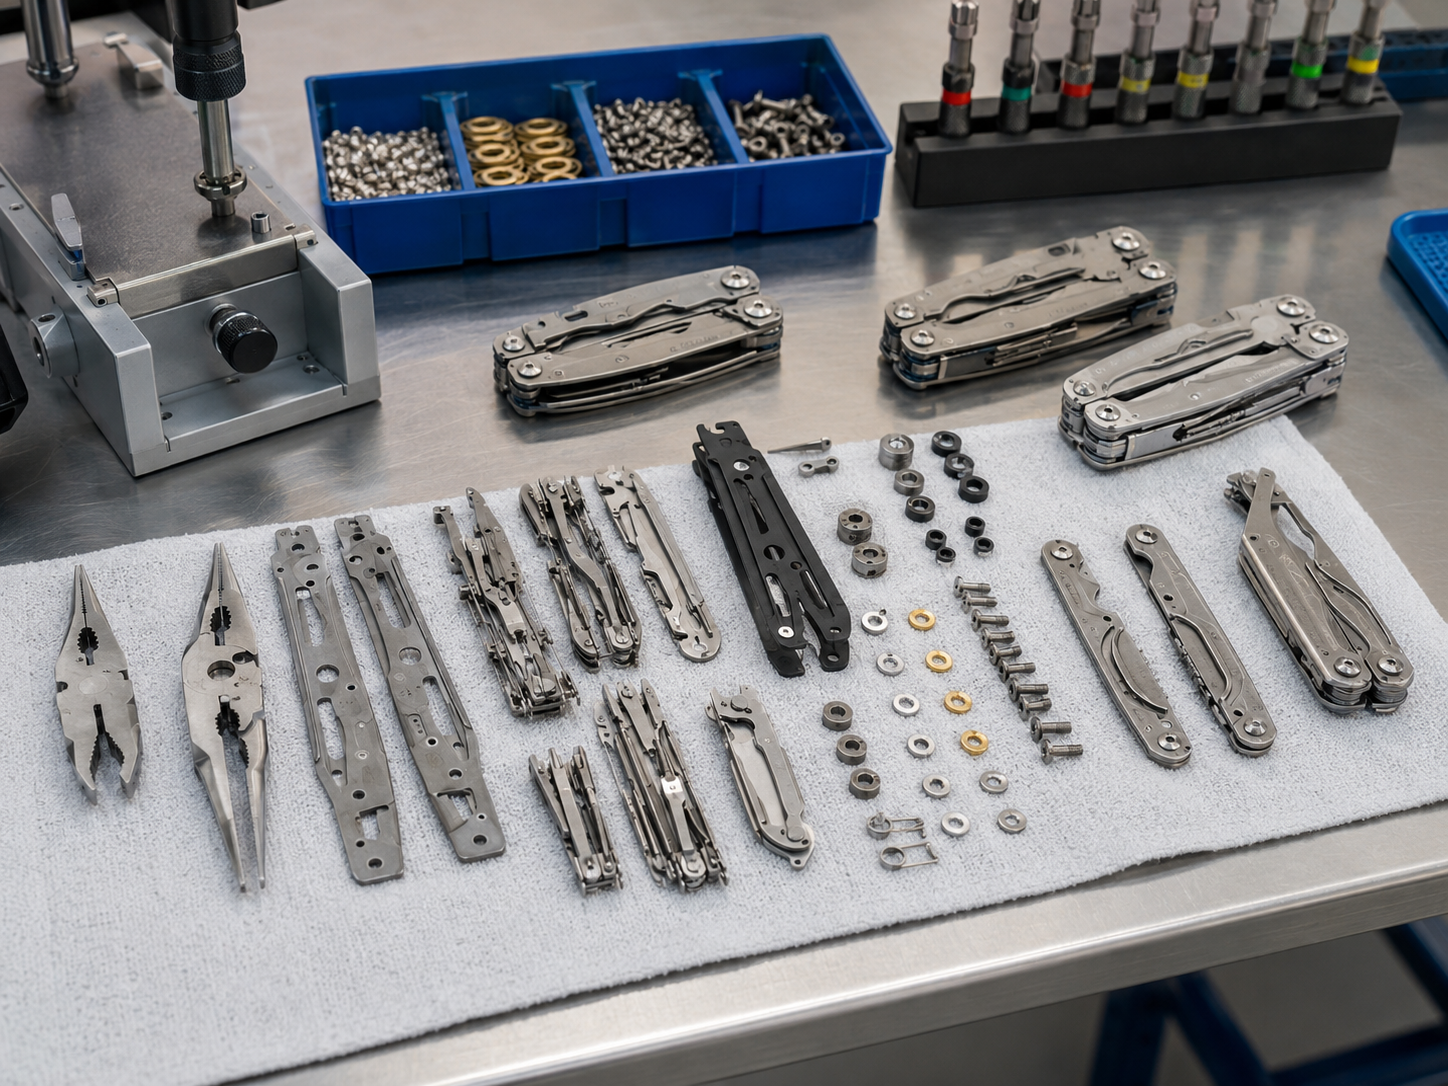
A multi-tool may have many good parts but still feel poor. Bad assembly creates stiff opening, loose tools, blade rub, or uneven spring tension.
Assembly aligns handles, pivots, washers, springs, tools, screws, pliers, and spacers. The goal is smooth movement, safe closing, stable tool position, and repeatable user feel.
I Build the Product Around Movement and Clearance
Assembly is where the multi-tool becomes real. Before assembly, the parts may look fine by themselves. After assembly, every small part must share space with another part. The blade must close without rubbing. The pliers must open smoothly. The screwdrivers must sit in the handle without shaking. The scissors must open and close properly. The spring should hold tools in position without making them too hard to pull out. The screws or rivets should be tight enough for stability but not so tight that the action becomes rough.
This is why I care about clearance. A multi-tool is compact, so each layer needs a controlled thickness. Washers, spacers, liners, and handle frames all matter. If a handle part is slightly bent, the tool stack can become uneven. If the screw torque is inconsistent, one piece may feel loose while another feels too tight. If the spring geometry is not stable, the action can vary between units.
For B2B orders, buyers should not only approve the appearance sample. They should open and close every function, check plier alignment, test tool access, check shaking or rubbing, and confirm the expected user feel. A good sample should show the assembly standard that production can repeat.
| Assembly detail | What I check | Buyer-facing result |
|---|---|---|
| Pivot and washer fit | Smooth movement and stable tension | Better opening and closing feel |
| Tool layer spacing | Clearance between functions | Less rubbing and fewer scratches |
| Spring tension | Hold and release feel | Easier use and better consistency |
| Handle alignment | Frame straightness and fit | Stronger perceived quality |
How Do Finishing, Inspection, and Packaging Protect Multi-Tool Orders?
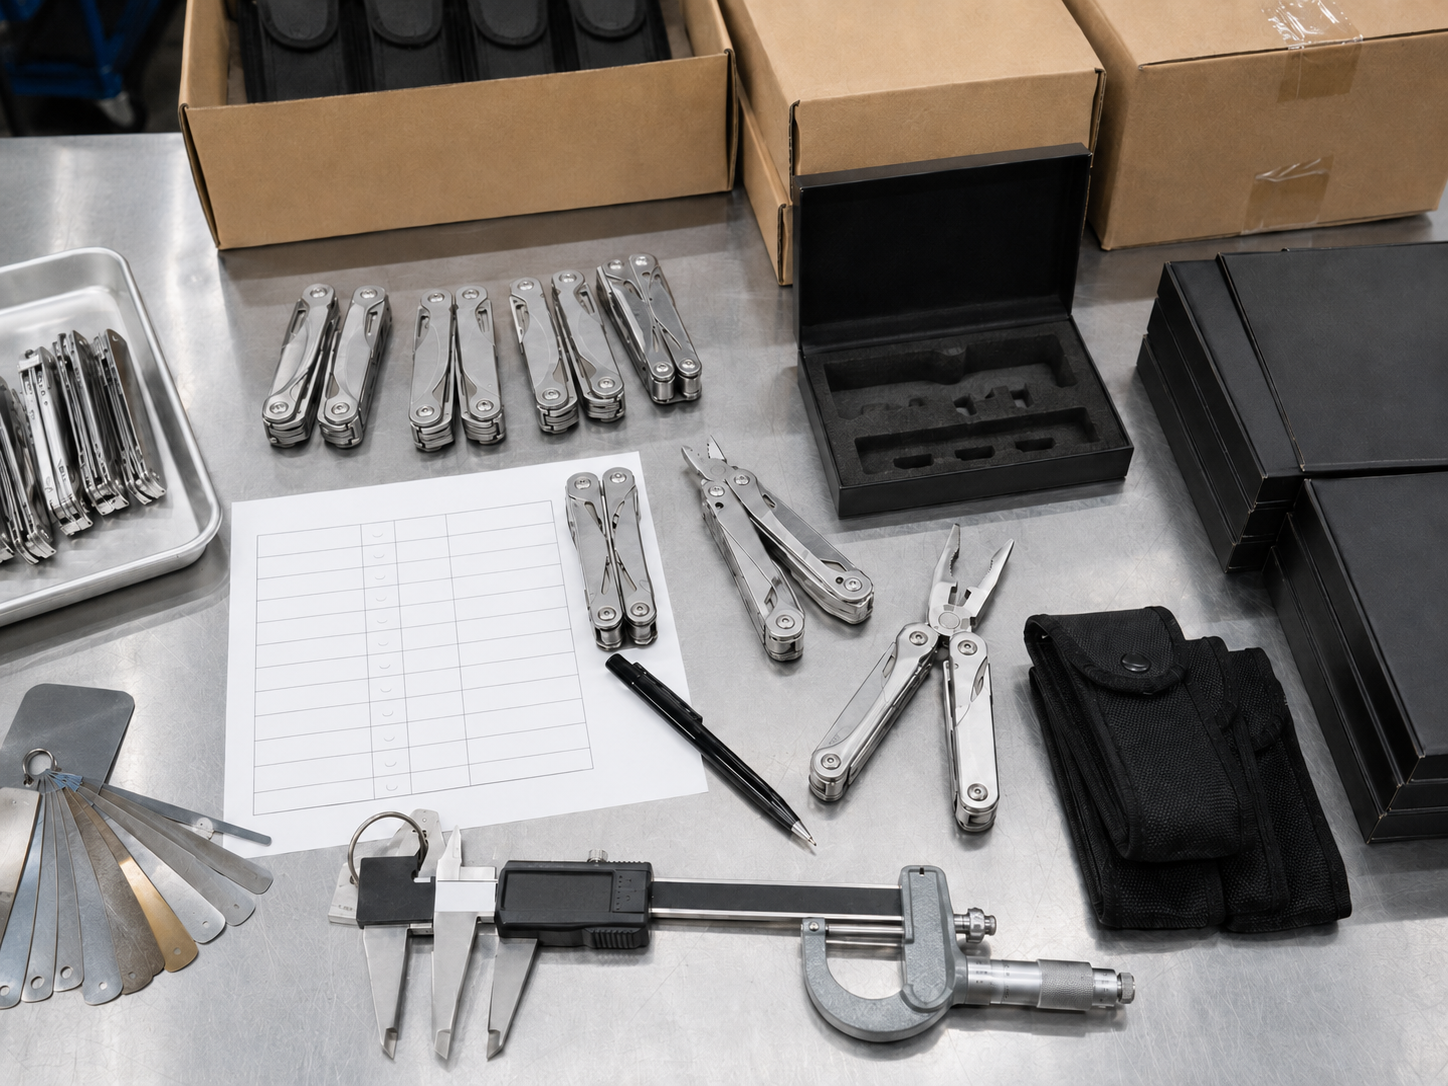
A finished multi-tool can still fail commercially. Scratches, loose tools, weak cartons, or unclear packaging can hurt repeat orders.
Finishing, inspection, and packaging protect the order by checking appearance, function, sharpness, tool movement, plier alignment, screw security, branding, documentation, and shipment protection.
I Treat Final QC as Part of the Product, Not a Separate Step
Final finishing can include tumbling, polishing, stonewashing, bead blasting, coating, anodizing, laser marking, or other surface treatments. The right finish depends on the product level and market. A working outdoor tool may need a practical finish that hides small marks. A retail private label tool may need cleaner visual consistency. The finish must also avoid blocking movement, changing fit, or making the tool uncomfortable to handle.
Inspection should cover both appearance and function. I check tool opening, closing, rubbing, plier alignment, blade or cutting tool edge, screw security, surface defects, logo placement, handle feel, packaging, and carton protection. For some markets, buyers may also need documentation and product safety review. The EU General Product Safety Regulation is a useful reminder that consumer products may need risk review, traceability, and safe-use thinking. The OSHA hand and power tools page also reminds us that hand tools can create hazards when used or maintained improperly, even though it is a workplace safety source rather than a multi-tool manufacturing standard.
For quality systems, ISO 9001:2015 supports the idea that quality depends on planned processes, customer requirements, performance evaluation, and improvement. I do not treat final QC as a quick look before shipment. I treat it as proof that the production process has stayed under control.
| Inspection area | What I check | Why it matters |
|---|---|---|
| Function test | Opening, closing, tool access, plier action | Confirms real user experience |
| Appearance check | Finish, scratches, logo, color | Protects retail value |
| Safety and handling | Edges, burrs, pinch points, tool hold | Reduces avoidable user complaints |
| Packaging check | Box, pouch, insert, carton protection | Supports shipment and brand presentation |
Ready to develop a custom multi-tool?
Send your function list, reference photo, target quantity, and budget range. Vast State can help turn it into a manufacturable OEM/ODM specification.
Conclusion
A strong multi-tool comes from controlled design, accurate components, stable heat treatment, careful assembly, functional inspection, and packaging that protects the order.
Source Notes
- Alleima 14C28N supports the material discussion about blade steel performance and corrosion resistance.
- Alleima hardening and tempering supports the heat treatment explanation for knife steel components.
- NIST Rockwell hardness guide supports the need for good hardness measurement practice.
- European Commission product safety supports the point that product safety and documentation can matter for consumer products.
- OSHA hand and power tools provides partial context on hand-tool safety risks.
- ISO 9001:2015 supports the process-based quality management discussion.